

Dust and dirt can easily build up on your PC fans, reducing their cooling capacity and gradually causing your system to overheat. Hence, cleaning the PC fans every six months for intact performance is a good idea.
But if you’re a beginner who has never opened a PC before and looking for help cleaning the computer fans, you’re in the right place. I’ll walk you through all the necessary steps and precautions to avoid any damage in the process.
So, grab your PC-building tools, and let’s dive in!
Contents
Prerequisites of Cleaning PC Fans
- A Can of Compressed Air: Available at most computer stores, you can use the compressed air to blow loose dust and debris away from the fan blades.
- A Soft-Bristled Brush: Useful if you need to remove any stubborn dust or debris that compressed air couldn’t remove.
- Isopropyl Alcohol (above 90%): Once you get rid of loose dust, you will need IPA to clean the fan blades and any other areas that may have accumulated dirt or grime.
- Cotton Swabs & Paper Towels: This is what you’ll use to apply the Isopropyl Alcohol to the PC fans and clean them.
How To Clean Computer Fans?
Before you start, you will need to remove the fans from the PC case. If you don’t, the dust and debris from the dirty fans will end up on other components in a PC.
Also, removing the fans will ensure that you’ve enough space to get into the nooks and crannies and clean each fan thoroughly.
1. Steps To Remove The PC Fans
First and foremost, you will need to detach the fan connector from the motherboard and remove the fans from the front, top, and rear of the PC case by following the steps listed below:
Note: It’s recommended you ground yourself from static electricity by repeatedly touching the PC case. This will help protect your PC parts from being damaged by static when you touch them while cleaning the fans.
Step 1: Shut down your PC and disconnect it from the power outlet.
Step 2: Unscrew the thumb screws that hold the glass panel by turning them anti-clockwise.
Step 3: When the glass panel starts to wobble, carefully unclip it from the metal retention clips by pulling the panel towards you from the top. Then, gently lift the glass panel upward and out of the way.
Step 4: After the glass panel is detached, disconnect the fans from the motherboard by removing the fan header marked CPU_FAN/CHA_FAN or a fan controller if you’re using one.
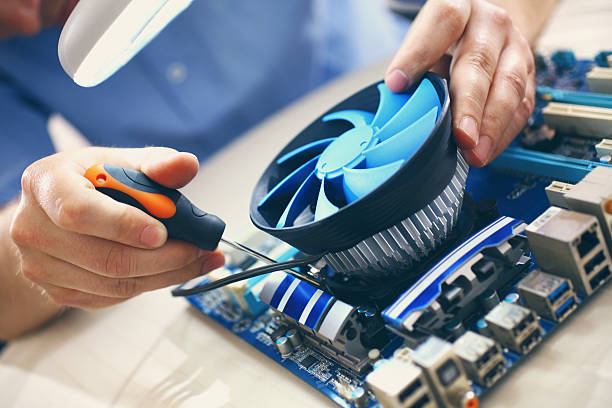
Step 5: Use a screwdriver to unscrew and remove the fans from the front, top, and rear of the PC case.
2. Clean The PC Fans
After you remove the front, top intake, and rear exhaust case fans, follow these steps:
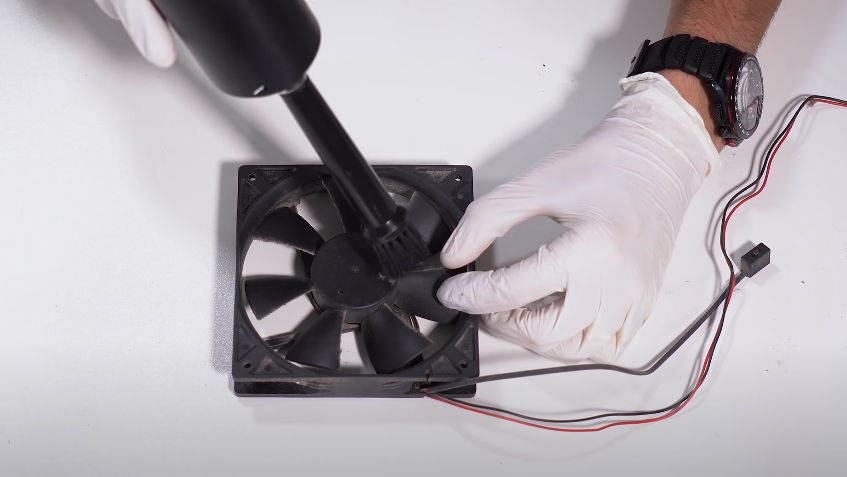
Step 1: Hold the fan blades to stop them from moving and use the can of compressed air to blow away loose dust and debris from the fan blades and areas around it. Be sure to hold the can upright and use short bursts of air so that it doesn’t liquefy.
Step 2: Use the soft-bristled brush to remove any stubborn dust or debris that compressed air wasn’t able to remove.
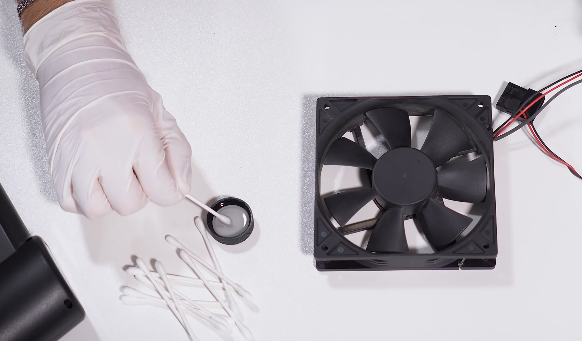
Step 3: Now put a few caps of isopropyl alcohol into a container, Then, keep a few cotton swabs and paper towels handy.
Step 4: Dip any one end of the cotton swab into isopropyl alcohol and clean the debris found in the tiny nooks and crannies of the fan.
Step 5: Repeat Step 5 using new cotton swabs until they look clean and free of grime.

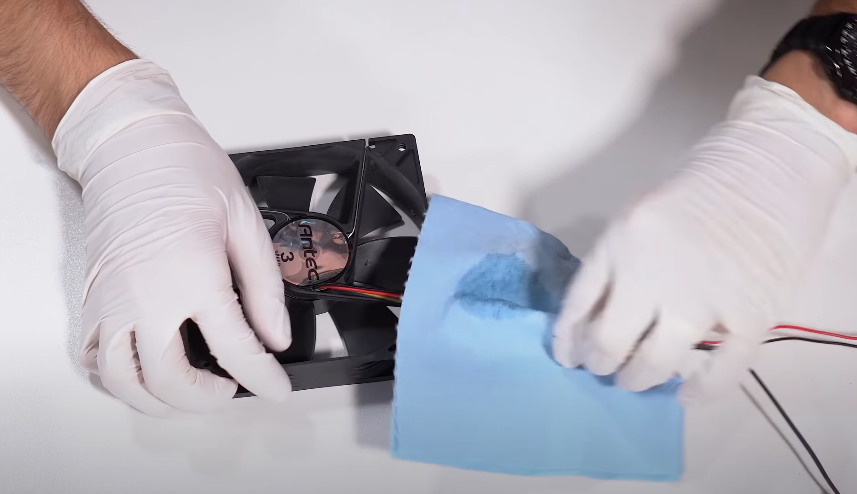
Step 6: Dip a corner of the paper towel into isopropyl alcohol and clean the wires, fan blades, and housing of the fan.
Step 7: Once they’re cleaned, screw them back in place and plug fans into the motherboard. Then, attach the glass panel back to the PC case.
Frequently Asked Questions
There’s no precise answer to how frequently you should clean them. It depends on where you have placed the PC, how old it is, and how often you use it. Generally, it’s recommended to clean them at least once every 6 months.
I don’t recommend using a vacuum cleaner in this case. Vacuum cleaners generate static electricity, which is known to damage computer electronics. Try using a can of compressed air or a duster instead of a vacuum cleaner.
PC fans draw in air from outside the PC case to maintain the temperature of internal components and prevent them from overheating. However, as air is sucked into the case, small dust particles also make their way in, which can make the fans dusty. Apart from that, most PC fans also create a difference in air pressure which can attract dust particles that tend to stick to the blade of the fan.
Yes, dust can make PC fans weaker. Over time, the accumulated dust on PC fans can obstruct the airflow and can cause them to spin slower or less efficiently, resulting in reduced cooling performance. That’s why cleaning is essential.
Conclusion
Do you remember the last time you cleaned your PC fans? If not, do it right away. It’s crucial to ensure your PC runs smoothly and improves its lifespan. I hope this guide helped you clean yours.
Bonus Tip: Keep your PC on a desk or a raised surface rather than on the floor, and use dust filters for intake fans to prevent more dust from getting into your PC case.
Leave a Reply