
Are you building a PC and want to learn about installing RAM from the scratch? Installing any of the PC components, let alone the one that impacts its speed the most, is not that tough. But there are a few things you must get right.
Firstly, open a case. Don’t unplug a wire that you don’t know where to pop back. Reach out to the motherboard through tiny lanes filled with circuits and wires. Sounds complicated? It is not.
In this article, I shall walk you through a complete step-by-step process along with a heads-up at every accident-prone point. Let’s begin!
Contents
Things To Do Before Installing RAM
You could face a variety of challenges during the whole process like unaccounted shutdowns, breakdowns, power fluctuations, and the worst of them all – finding out that the RAM you got won’t fit.
To avoid all of them, here’s a list of things you should do before installing or upgrading RAM on a computer:
- Compatibility Check: Understand the slots on your motherboard and see the compatible options. RAM strips are of a capacity between 2GB to 32GB per strip. Use online platforms that confirm compatibility merely by entering the existing hardware details.
- Backup Your Data: This includes setup files for the softwares you installed as well. You never know when things go south.
- Keep Tools Handy: Apart from an anti-static wrist strap, you are probably going to need multiple screwdrivers. Keep the full toolkit including nut drivers and a flashlight with you, just in case you need them.
- Shut Down Your PC: This is to protect your computer. Not that anyone should tell you this but installing RAM with the computer on is NOT a good idea.
- Ground Yourself: Use an anti-static wrist strap that will negate any unwarranted current. Any guide on how to upgrade PC RAM is incomplete without explaining static discharge protection.
How To Install or Upgrade RAM on the PC?
Now that you’re prepared with everything, let me walk you through 7 easy steps.
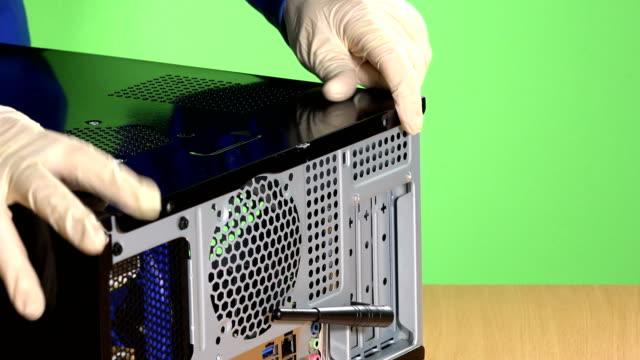
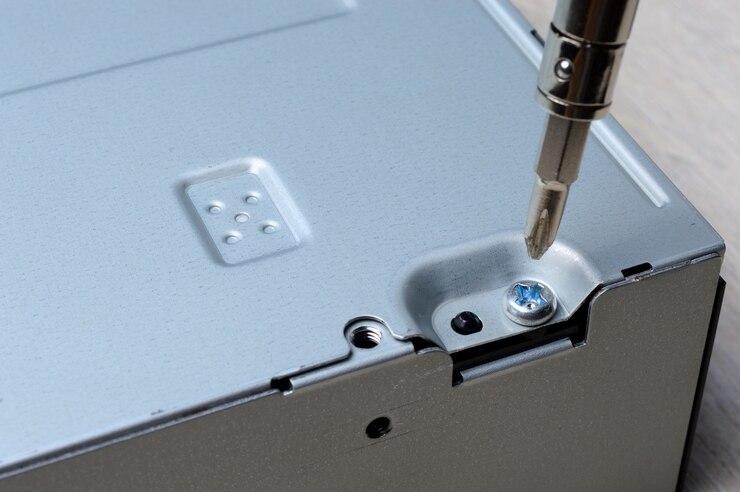
Step 1: Remove the Computer Case
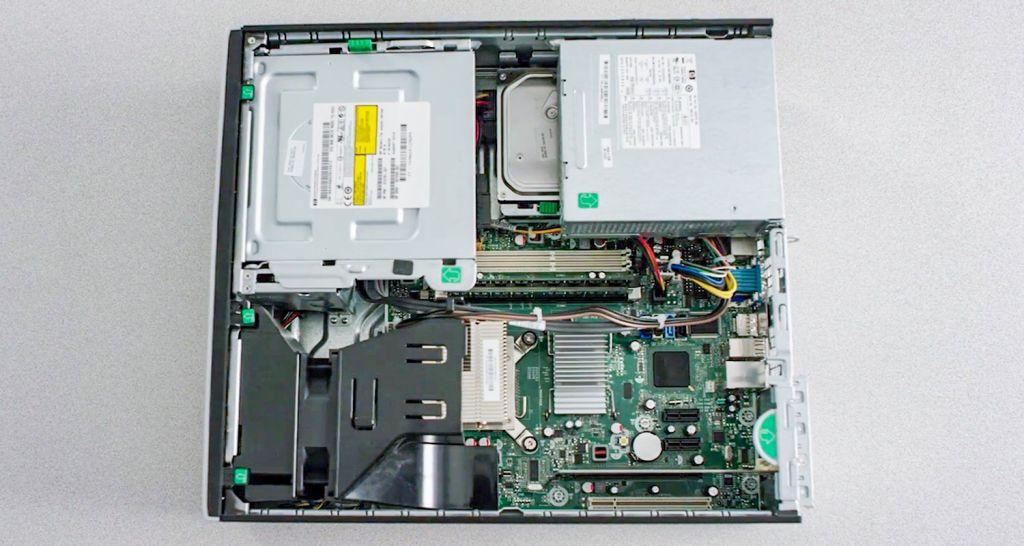
Make sure you are in contact with an unpainted metal surface before opening the computer’s casing to prevent any static discharge.
Next, Unplug all the wires. Your motherboard will be located near where the wire slots are. Use your screwdriver to open the screws on the casing around the wire slots.
Note: Don’t forget to store the screws carefully or else you’ll lose them.
Step 2: Remove the Old RAM If Upgrading
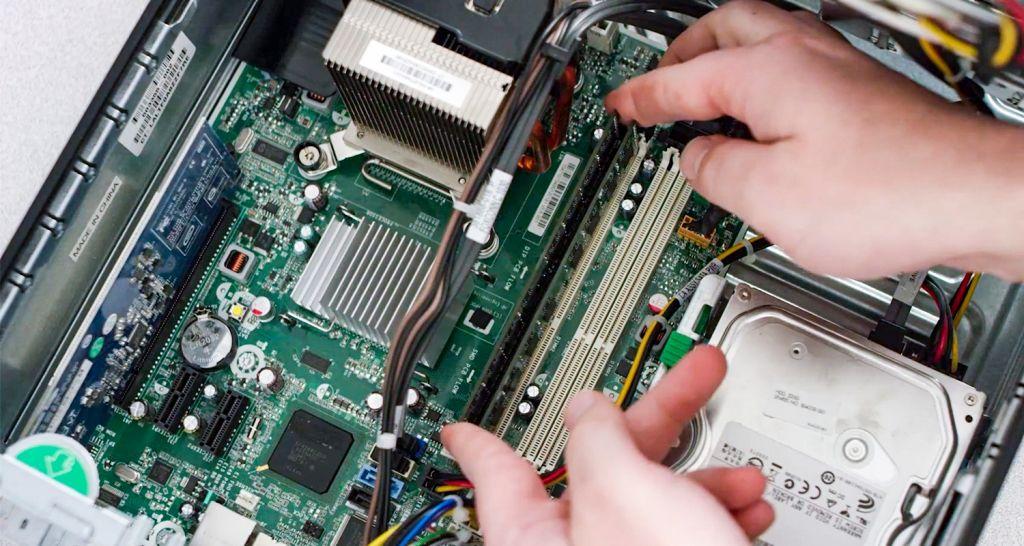
Locate the RAM slots. You will easily find long slots with a metal card-like strip slotted in if you already have RAM and want to upgrade.
For new installers, you will see long parallel slots which will be exactly the size of your RAM. Touch the existing RAM from both ends and plug it out smoothly.
Step 3: Verify the RAM Slot Layout
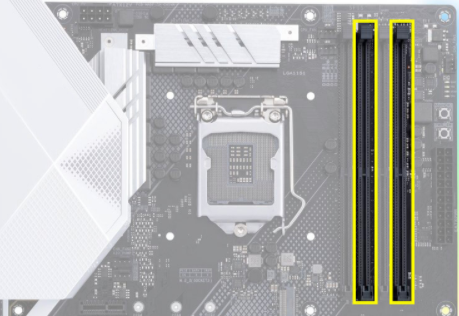
If you have done your compatibility check then the RAM slots on your motherboard will be exactly of the size of your RAM.
See if you have a single slot or multiple slots. The first slot is your default slot for a single strip. In the case of double strips, you should use the other slots.
Refer to your manual as some brands suggest slotting RAM in the last slot first.
Step 4: Install the RAM Stick

Once the slot is located and the existing RAM is eliminated (if you’re upgrading), hold your new RAM from the corners of each end.
There will be one side of the RAM that will have the circuit-like surface exposed. That is the side that is supposed to go in. The other covered part is where you have to hold it from.
The slot will have 2 clips on each side. Gently push the RAM in. Don’t push it a lot because RAMs don’t go too deep inside the slots. Give it a gentle tap from your fingers to make sure there is no wobble.
Step 5: Connect the Display Cables
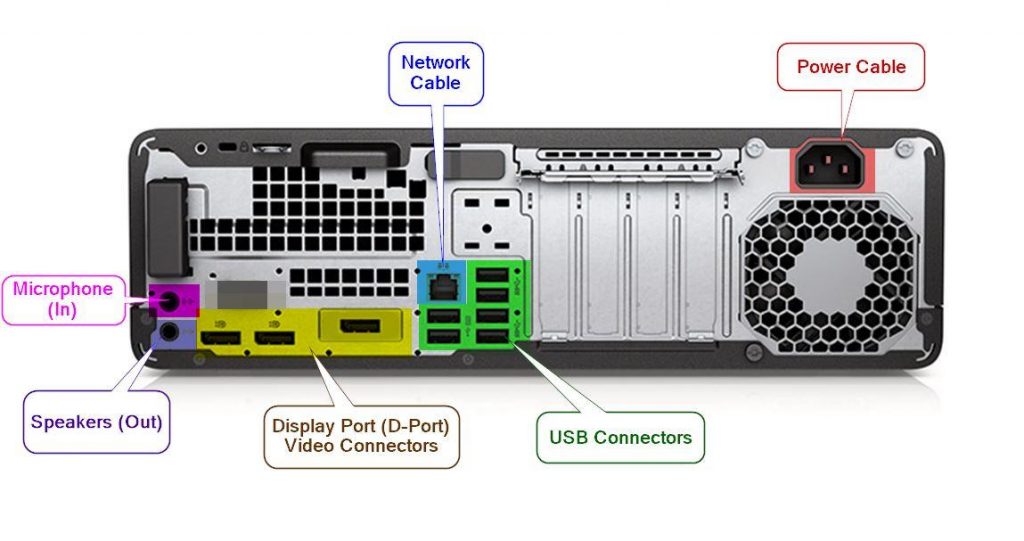
Before closing the case, connect all the cables back to where they belong. Connect everything and plug in the main power supply. Turn on your computer and see if it’s booting. If the computer boots, then you have almost done your job well.
I say almost because we will testify to your success in the following steps.
Step 6: Test the RAM
If the computer is booting fine then you are good to go. If not, you’ve not installed the RAM correctly. If it is not slotted correctly then your computer won’t boot. It is as simple as that.
For those who made an upgrade, once your computer starts well, open the Windows menu, search ‘About your PC’, and open it.
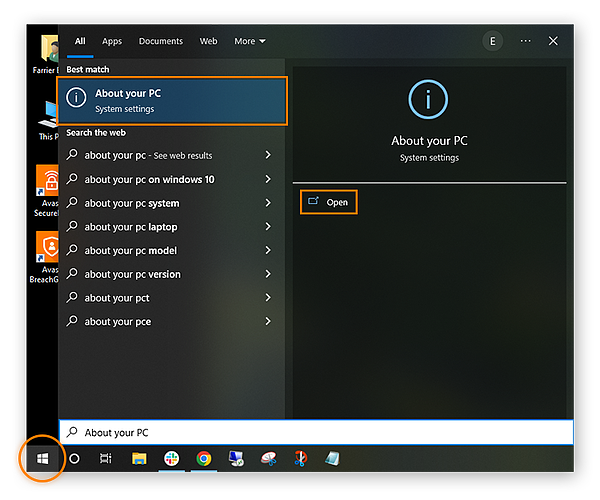
This will open up a new page with all the details about your system. If new RAM and its capabilities reflect there then you have the job right.
Step 7: Close the Computer Case
Now that everything is working fine, it is time to fit the case back again. Grab those screws and carefully slot them back into the casing.
Check all the cables in case you had to remove them to fit the case. Many motherboards are better accessible from the back panel where the slots are. Most people open the side casing to update any internal component.
Issues You Might Encounter After Installing a New RAM & Their Fixes
When you handle fragile and tiny components, it can go wrong. Here is a list of a few things that could go wrong in the process and how to deal with them:
1. Incorrect RAM Type
This could happen if you did not perform the compatibility check correctly. See the user manual or check the slots again. Measure the slot width to match it to that of the RAM.
2. Incorrect RAM Speed
This could be because you did not put the RAM in the correct slot. Read the user manual or try putting the RAM again in another slot.
3. Incorrect Installation
This could be in case you did not press the RAM hard enough. The RAM will snap into the slot and the clips on the side will hold the RAM firmly. Make sure the RAM is not slotted upside down.
4. Incorrect Issues
It could be possible that you disturbed the power supply unit of the system or maybe one of the cables is not fitted properly. Make sure all the cables are fitted properly once again.
5. BIOS Setting
Manufacturers make sure that the BIOS version is up-to-date before the assembling but in case you face any problem with your BIOS, you can update it too. The problems that you face may include:
- System crashes
- RAM partially recognized
- Slow performance
- The system does not boot
- Other components don’t work
BIOS (Basic Input Output System) is where all the settings and control functions are stored. It appears when a new PC is started, introduces us to the hardware, and gives us the option to set up the operating system.
You can download the updated BIOS from the product’s official support page. Extract the files, transfer them into a flash drive like USB, and update them to your PC at the boot page.
Frequently Asked Questions
RAM will have an exposed metal part on one side and a covered part all around. The exposed metal side is supposed to go inside the slots.
RAM sticks are supposed to be put inside their dedicated sockets. These sockets are ideally located adjacent to the CPU. The sockets are as wide as the width of the RAM with two pins on each side to hold the RAM sticks.
RAM does not require drivers to be installed separately. However, if you have purchased RAM that is incompatible or requires drivers, check the user manual of the newly purchased RAM to know more about the drivers and where to download them from.
No. RAM has to be compatible with the slots available in your motherboard. The compatibility of your RAM depends on the form factor of the slots and the overall system configuration.
Slotting the RAM is a delicate process but it is very easy and does not require any system expertise. How to properly install RAM is a different question though as a lot of things can go wrong in the process.
Conclusion
There you go. If you are reading this from your computer with the new RAM then pat your back. Keep troubleshooting otherwise. Adding RAM to a PC is a fairly easy job compared to other upgrades. Ensure your and your computer’s safety and handle it with care.
Leave a Reply