
Better graphics aren’t only for gamers. You could feel the lack of proper visual quality in other tasks too. So, if you want to install a graphics card on your PC, you’ve come to the right place.
Installing the GPU is a matter of a few minutes if done right. But it can be a bit overwhelming if you’ve never opened a computer. Worry not. This 6-step guide shall help you set up or upgrade your video card without error.
Contents
- Things To Consider Before Installing a GPU
- How To Install Graphics Card? [Step-by-Step Guide]
- What happens if The Power Supply is not enough for the Graphics Card?
- How To Fix Installed New Graphics Card Computer Won’t Boot?
- What to Do After Installing a New GPU?
- Testing the GPU
- Frequently Asked Questions
- Conclusion
Things To Consider Before Installing a GPU
- Make sure your PSU is compatible with your graphics card. It should ideally be double the amount of power the card takes.
- Make sure your PC has a graphics card bracket. This is the place where the card sits. It will be either the first or second expansion slot in the motherboard.
- You’ll need PCIe power cables. A PCIe cable powers the graphics by connecting GPU to the motherboard. Some mighty GPUs need two of them.
- You’ll also need Display Cables. The display cable runs from the motherboard all the way to the display device.
- Keep the screwdriver and a torch handy.
How To Install Graphics Card? [Step-by-Step Guide]
Before beginning, back up your data, close all programs, and shut down your PC. Disconnect all cables from the CPU. Finally, touch a metal surface to ground any static discharge.
1. Open the Case
Step 1: Open the case. Usually, it will be four screws that you will have to unwind. Don’t forget to keep the screws somewhere safe so that you don’t lose them.
Step 2: Locate the graphics card slot. It will be around the expansion slots on the motherboard.
2. Open Your PCIe Slot
Step 1: Remove the PCIe cable from your existing graphics card if there is any. Remove the card gently by pulling it with your fingertips from both corners.
Note: If there wasn’t any card in the first place, you might have to toggle the PCIe slots around to get a hold of the whole slot.
3. Put in the Graphics Card
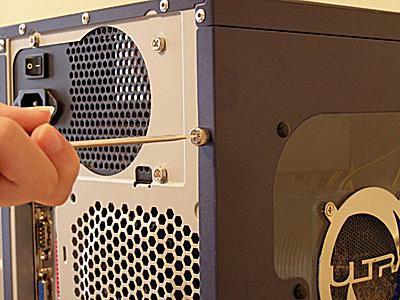
Step 1: Hold the graphics card from the corner edges. Slot it in gently.
Step 2: Push it after slotting but don’t apply force. These cards don’t go too deep in the slots. The side lugs will snap while plugging in the graphics card.
Step 3: Give it a wobble to ensure the card fits well.
4. Connect it to the PSU
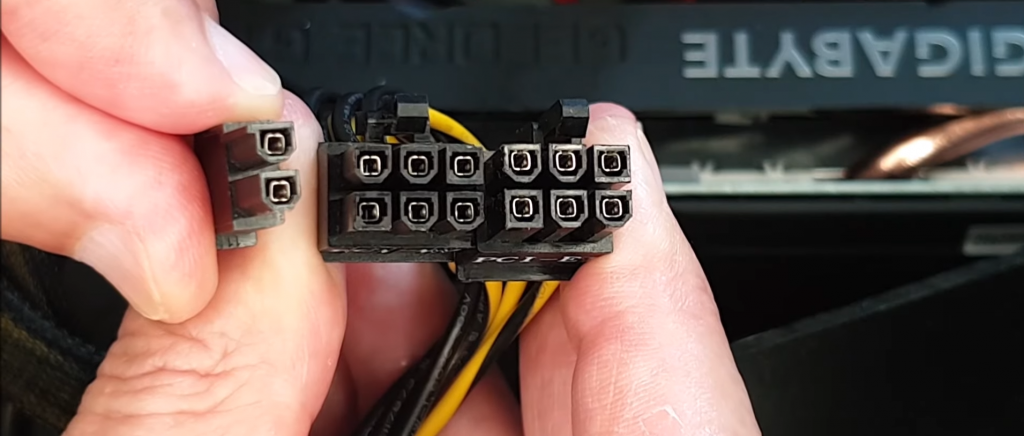
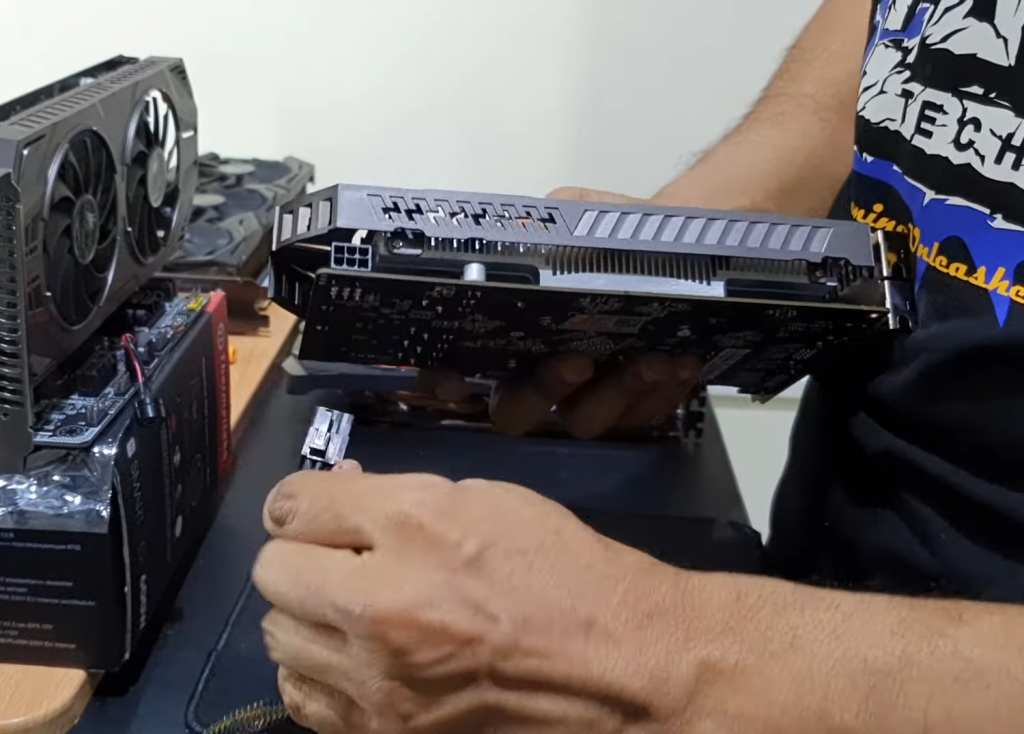
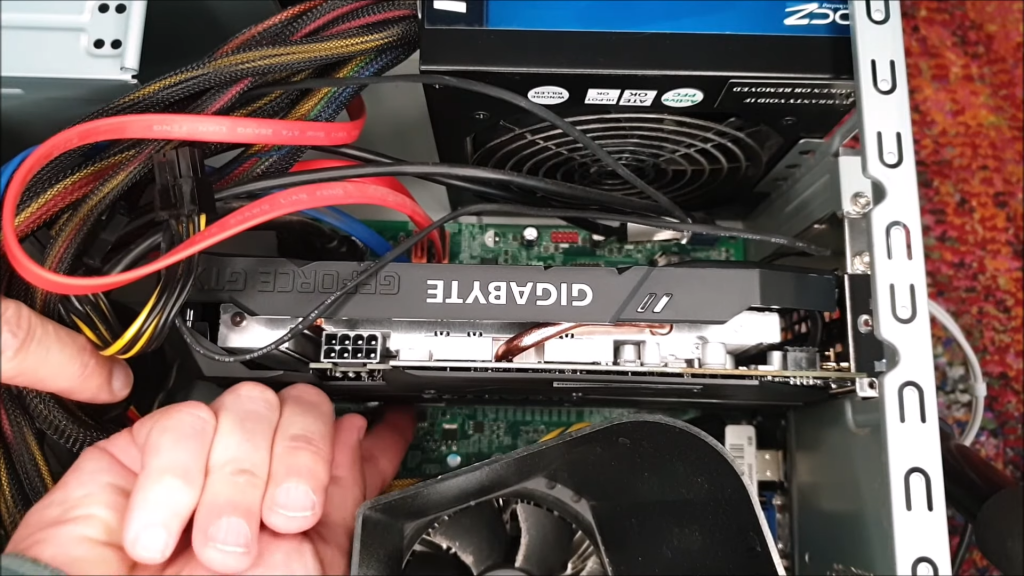
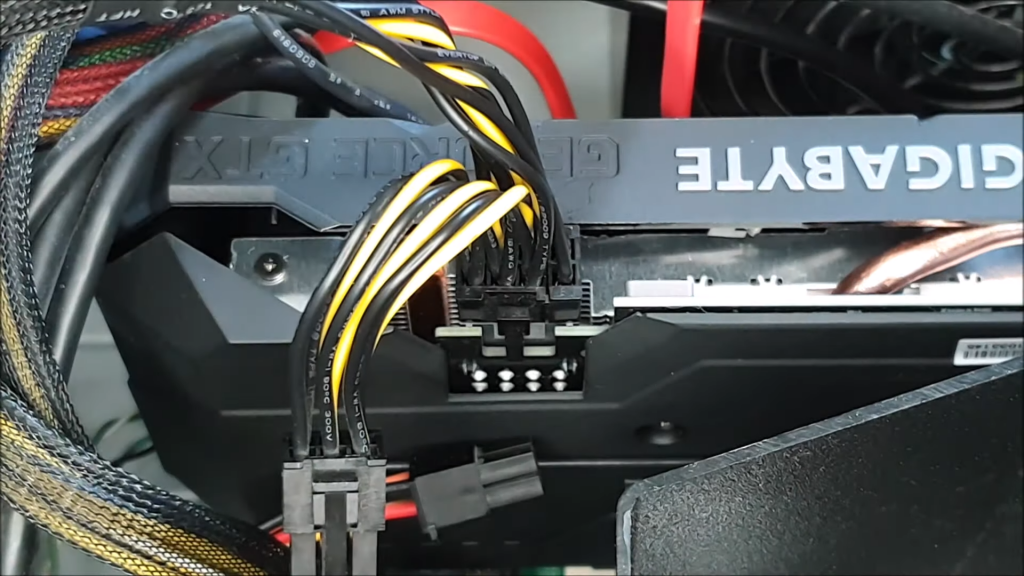
Step 1: Plug the PCIe cable into the graphics card. Look for the slots on the PSU to plug the other end of the PCIe cable into the PSU.
Generally, the PSU comes with the marking of which cable goes in where among the sockets. This gives us a better idea of installing the video card and its cables.
Step 2: If your graphics card unit requires two PCIe cables, then connect both cables to the PSU.
5. Connect Monitor to the GPU
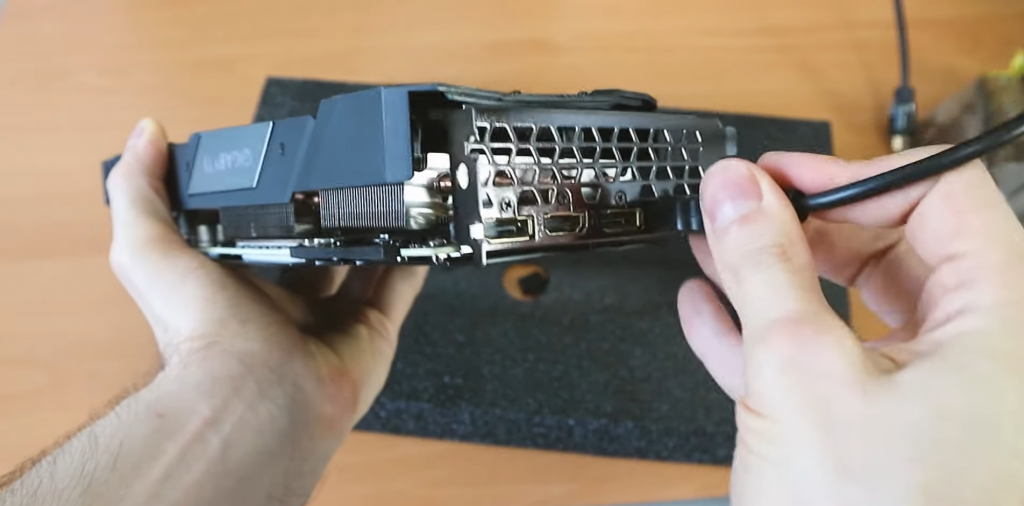
Step 1: Connect your monitor to the GPU with the relevant cable. Most modern-day monitors use HDMI cables, and CPUs have HDMI slots that connect them to the GPU.
Step 2: Many units still use VGA or DVI ports as well. Check the ports carefully and attach the relevant cable to the monitor.
6. Power on the Computer
Step 1: Shut the CPU case close with the screws. Carefully plug in all the cables back after that.
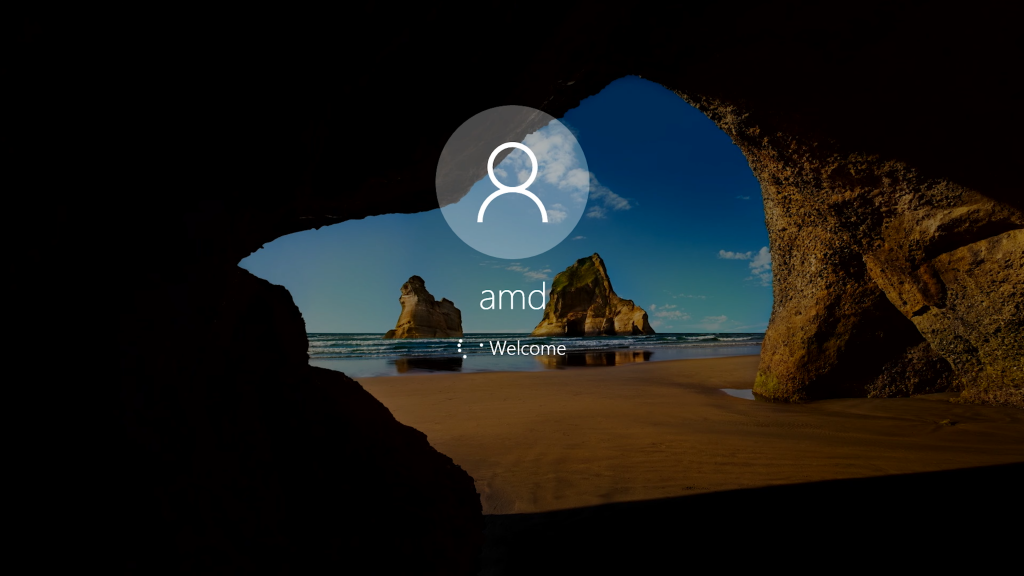
Step 2: Place the CPU correctly and power on the computer. Now that you know how to install a new GPU, your computer should boot normally.
If you encounter any error message before booting then do the following:
- Firstly check the display cables in case forgotten how to connect the graphics card to the power supply
- Confirm the fitting of PCIe cables to the graphics card
- Check the PSU compatibility with your graphics card again
- Go to BIOS for troubleshooting
What happens if The Power Supply is not enough for the Graphics Card?
You should ideally check for PSU compatibility before installation. If the PSU cannot power your graphics unit then you need a new PSU that is bigger in its capacity. You can also have a dedicated power supply for your GPU, but I’d rather upgrade my central PSU.
How To Fix Installed New Graphics Card Computer Won’t Boot?
There can be a number of reasons behind your computer not booting after GPU installation. You can try the following things to fix it:
- Check all compatibilities again
- Repeat the installation process more carefully
- Check all cables
- Update BIOS settings
What to Do After Installing a New GPU?
Any new piece of hardware only works if it has apt software support. Your operating system needs to understand how to work with the new piece of hardware, which in this case is the installation of GPU.
Most modern-day graphics cards have user manuals that denote the website for its resources. You can go to the website and enter your system details to download the relevant and latest drivers.
To check if your system has recognized the new graphics card, go to Task Manager and hit the Performance tab. You will see the GPU option on the right tab.
Testing the GPU
To ensure that your newly installed graphics card is functioning alright and serving its purpose, perform a few checks:
- Settings: From Display section in the default Settings menu on your computer
- System Information: From the Display section in the System Information menu
- Windows Task Manager: From the Performance tab in the Task Manager
- Control Panel: From the Hardware and Sound section in the Control Panel.
Frequently Asked Questions
Yes, you can definitely install a graphics card yourself by referring to this guide. You will need a few tools and safety measures first. Understand the compatibility and the subsequent driver installation. That’s it.
The graphics card slot is usually the motherboard’s first or second expansion slot. If you are wondering where the graphics card goes, it is commonly near the CPU cooler’s heatsink. Refer to your motherboard’s user manual to precisely locate the graphics card slot.
No, they are not plug-and-play kind of hardware. You need to attach appropriate PCIe cables to connect them to the central power supply, ensure connectivity to the monitor through display cables, and install drivers to integrate them with your operating system before using them.
No. You need to check if your motherboard has provision for the external graphics card. You must also check with your existing power supply unit to see if it can power an externally installed graphics card. You need to confirm the compatibility first.
If the old computer’s motherboard has provided a provisional slot for an external graphics card, then you can definitely put a new graphics card in your old computer.
Check your computer’s technical specifications and compare that with your graphics card’s technical specifications. If they match then your card will fit the slot easily. You may also use our PC builder to find highly-compatible parts.
The four popular ways to check the proper functioning of the graphics card are Display or GPU sections in the Settings menu, System information menu, Task Manager, and Control Panel.
You typically don’t need a dedicated graphics card for routine usage. You only need a dedicated processing unit for graphics if there is an overload of graphical output like high-resolution video playback or gaming.
Conclusion
There you go. That’s pretty much it about installing a graphics card. Enhance your gaming experience with external consoles. To optimize the graphical experience, use an extended screen. Practice safe viewing, and thank me later!
Leave a Reply