
The storage drive is an integral part of a PC. It houses your OS, games, software, and all the files locally. So, you must prioritize its installation over everything else. It goes into a computer case. But that’s not it.
You must find the right slot, mount it, and correctly connect the cables. This might sound complicated to the newbies, but it actually isn’t, especially when you have an easy-to-understand, resourceful guide like this.
So, shall we begin?
Contents
Things To Consider Before Installing a Hard Drive
- Compatibility: Ensure the motherboard has the right slot (s) for you. For instance, installing a hard drive or a standard HDD would require a SATA interface as part of the motherboard.
- Size of Slot: There should be a typical 3.5-inch bay or even a 5.25-inch bay in place for adding a hard drive to the computer. If you plan to install SSD, a standard SATA module should do the trick for regular SSDs. For NVMe SSDs, though, you might have to look for M.2 slots on the motherboard.
- Tools: Keep some tools for PC building handy. These include cables (data and power), screwdrivers (Philips head), velcro straps, zip ties, and more.
- Power: Turn off your PC. Also, even you the button is turned off, make it a point to unplug the same from the wall to prevent residual charges from affecting you.
- Disconnect Cables: It becomes easier to place the storage drive when power and data cables are disconnected. Also, make sure you label the cables so that attaching them later doesn’t require another guide.
- Go Anti-Static: Like any other component, connecting a hard drive (SSDs even) requires you to eliminate the ESD concerns beforehand. Therefore, it is advisable to keep the anti-static straps and mats handy.
- You can even touch a metal surface and ground yourself in the process before moving on to the installation.
Tip: If you are a first-time builder unsure where the M.2 slot is located, look for it near the motherboard’s top zone. It has a distinctive shape and isn’t all hard to identify.
How To Install a Hard Drive in a PC?
Having built 100+ PCs in 5 years journey, my experience, out-of-the-box strategies, and storage-specific techniques can help you get one of the most critical components of a PC build out of the way.
Let’s get to the step-by-step process.
1. Open the Case
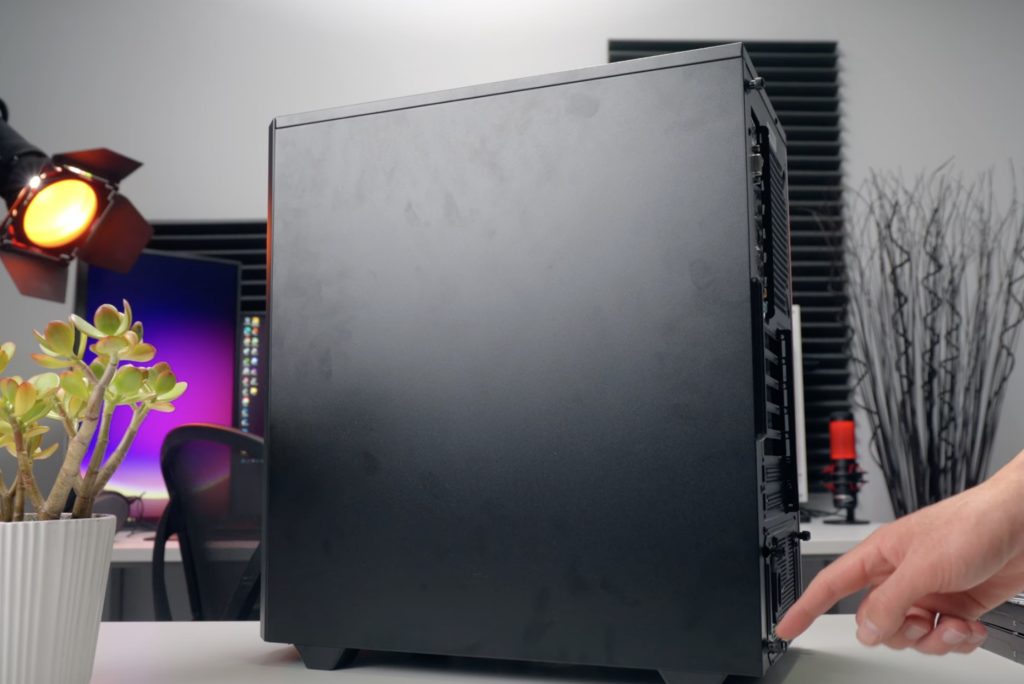
To open the computer case, unplug the device into the power outlet. Once done, you must locate the right set of latches and screws. Most of these screws and latches will be on the rear or the sides. Remove the same and uninstall the sides.
Now that you plan on placing the storage drive ground yourself by touching metal or wearing the anti-static band. Keep the already open screws handy, as you will need them while closing the case.
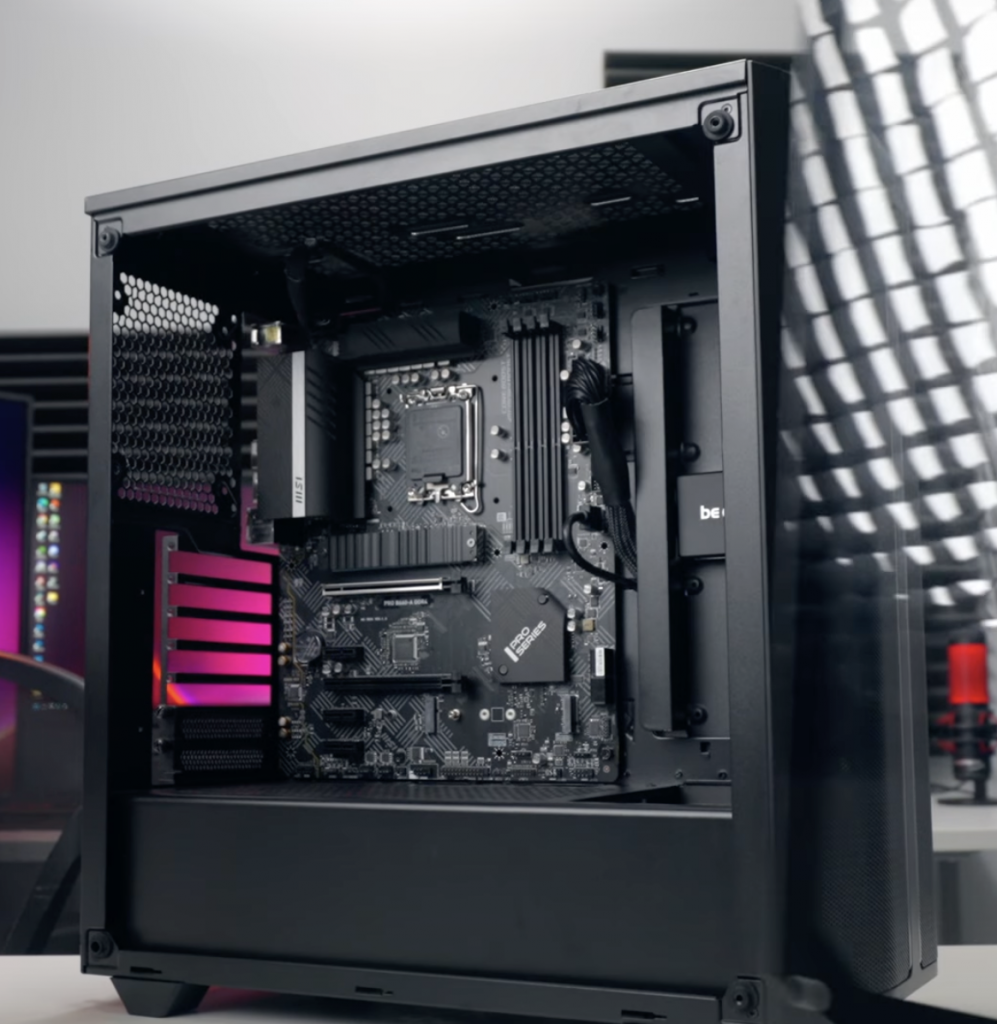
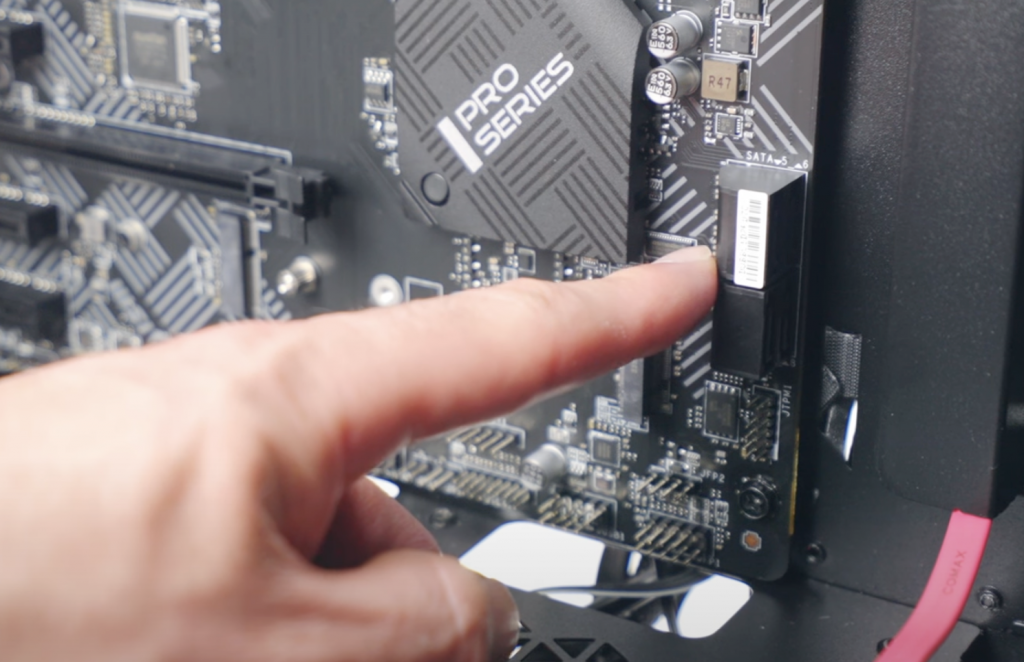
2. Locate the Right Slot
Do you remember that I discussed storage drive slot compatibility earlier? Check the motherboard thoroughly for the SATA and M.2 slots.
💡 Tip: You can even look at the motherboard manual to locate the same.
For the unversed, an M.2 slot is meant for NVMe or ultra-fast SSDs. This interface is a minimal form factor and helps fit high-speed SSDs into the PC. Coming to the segregation, the M.2 slots can vary depending on the keying.

These are B Key, B+M key, and M key M.2 slots. Note that the B key M.2 slots can support SATA-based SSDs, whereas M key slots are meant for the NVMe-variants.
Motherboards with B+M key M.2 slots can make room for both SATA-based and NVMe-specific SSDs.
As for the location, the M.2 slot surfaces right at the center or even atop the motherboard. You can expect this labeling to exist: M.2, M.2_1, M.2_2, and more to show how many M.2 slots there are.
Depending on the transfer speeds, the SATA slots appear near the edges and are usually labeled as SATA II or even SATA III.
3. Remove the Dated Storage Drive [If Upgrading]
This step only makes sense if you upgrade your PC’s storage. You must disconnect the power and SATA cables, unscrew the mounts, and pick out the storage unit. You must take care of the drive bays or mounting brackets to remove an SSD.
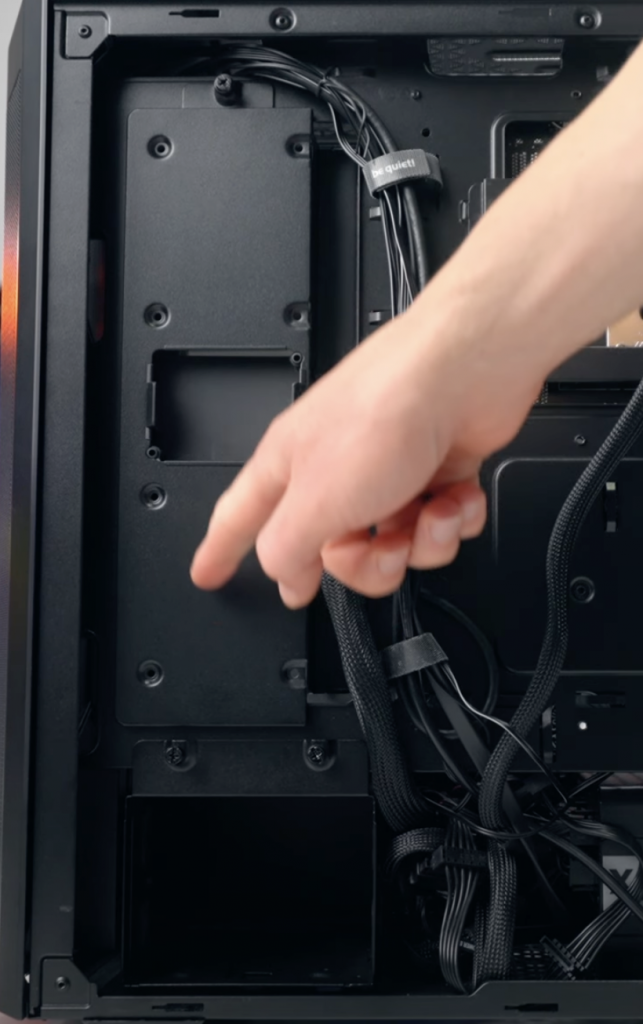
4. Mount the Storage Unit Right
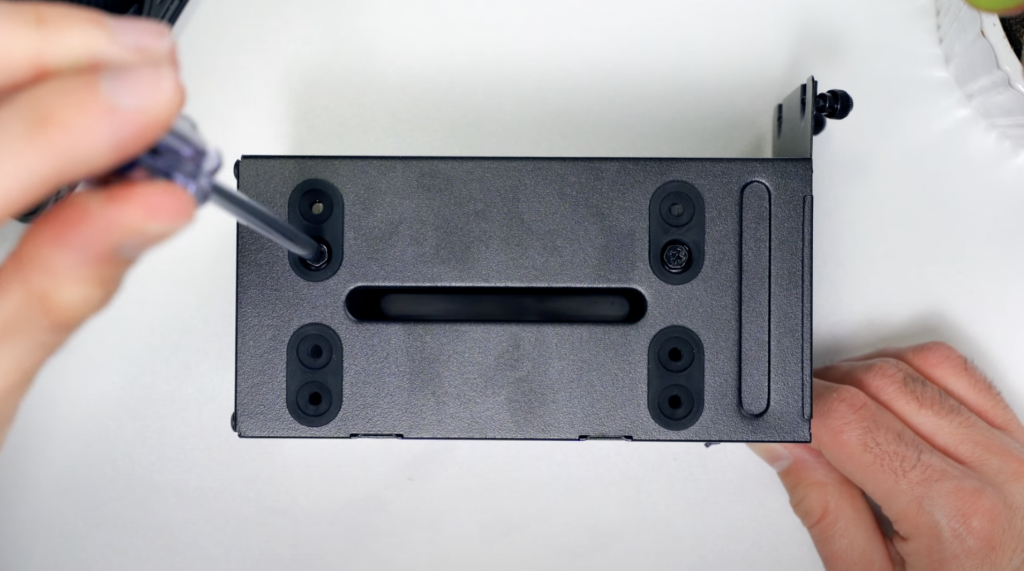
Now that every preliminary step is out of the way, you need to mount the HDD and SSD in place. Before proceeding further, check if the motherboard in question requires a standoff screw or not.
Once that is taken care of, gently place the HDD or SSD onto the relevant slot and secure the same.
Note that if you go with an M.2 variant, you can simply place them on the motherboard, and the motherboard then sits organically within the case.
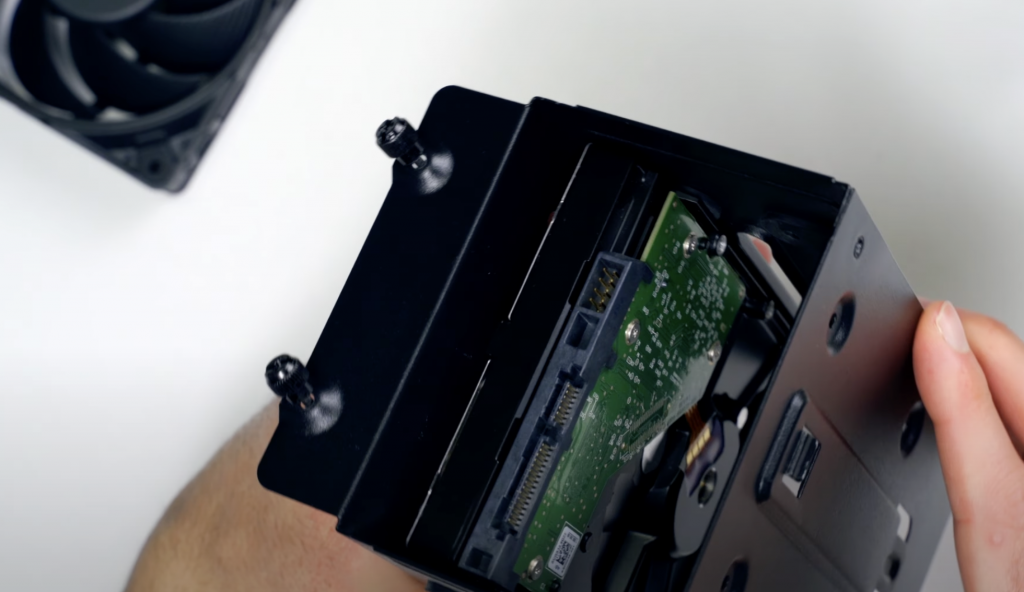
In the case of hard drives and SATA SSDs, drive bays at the bottom or the front part of the case is good enough. Some cases have drive SLEDs, where the storage modules go first before fitting inside the case.
Securing the drive (s) prevents physical damage and maintains connection stability. If the storage modules aren’t properly secured, you can expect some data loss while using the same. Plus, the BIOS might not be able to identify the device.
Here is how you can secure the SSD or even HDD once you place it in the right slot:
Note: Check if the motherboard comes with a thermal pad. In some cases where it exists, you need to install the thermal pad before fitting in the SSDs.
- Align the brackets with the drive;
- Insert all the relevant screws;
- Align the mounting bracket with the storage module’s case:
- Now insert the case screws so that the case and bracket are fixed properly;
- Check for stability and ensure that the entire mount isn’t loose. Tighten the same if needed.
5. Connect the Cables
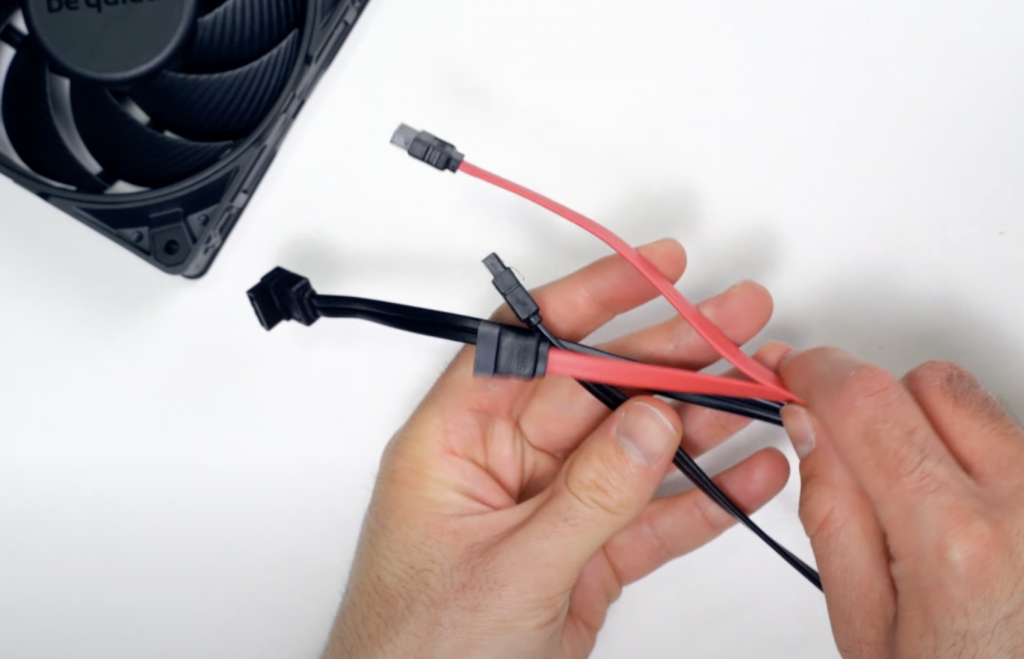
Installing a storage drive isn’t only about securing the component. Instead, you also need to connect relevant computer cables to the relevant points.
For M.2 NVMe SSDs, no data or power cable is needed as you simply need to fix it to the M.2 slot on the motherboard. SATA modules, both HDDs and SSDs, need direct data connection with the motherboard via SATA cables.
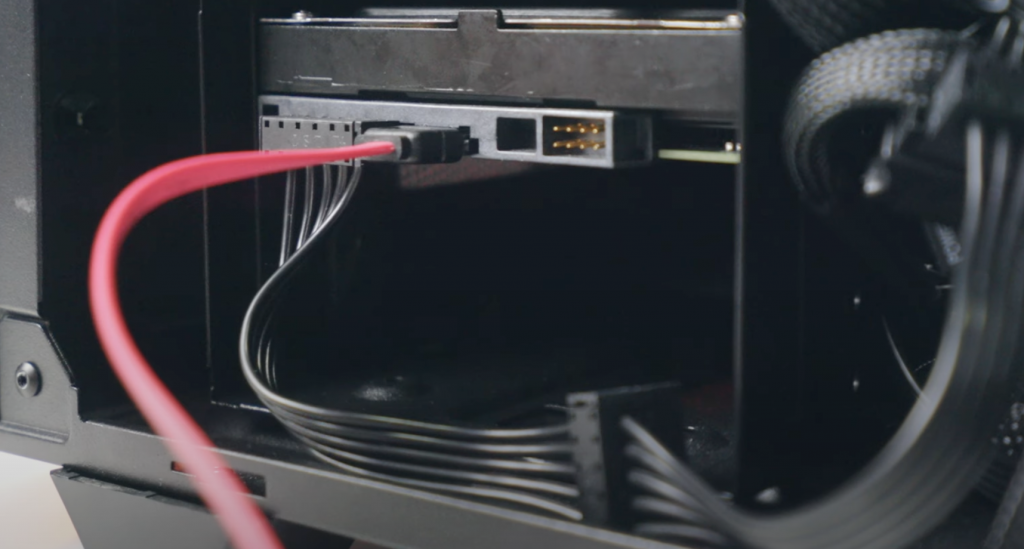
You also need to connect power cables between storage modules and the PSUs, but only for the SATA variants.
6. Finally, Close the Case
This is the time to put the side panels in place, tighten the screws that you first removed, and secure the entire assembly. Check out my ultimate PC-building guide if you need to install other components.
Try turning on the device to see the type of sounds coming from the case once the SSD, CPU, cooler, and other components work together.
Note: Regardless of where you want to place the storage module, looking for a zone that offers decent cooling and airflow is necessary.
What To Do After Installing Storage Drive?
Once you have physically installed the storage drive on your PC, here are some additional steps to get you started:
1. Configure the BIOS/UEFI
The first post-installation step would be to enter the BIOS or UEFI. For the uninitiated, BIOS stands for Basic Input/Output System, whereas UEFI stands for Unified Extensible Firmware Interface.
Both are firmware interfaces for basic hardware checks, helping load and boot up the OS, and managing configuration settings.
Once you are done installing a hard drive or solid-state drive, you can enter the BIOS/UEFI console by hitting F2, F10, or even the DEL button.
Once done, you need to check for the storage or boot option, select the M.s NVME, SATA SSD, or HDD as the boot device, and hit enter or confirm.
Note: A primary boot device is the one that loads the OS while the device starts up. To set your recently installed storage drive as the primary boot device, you must:
- Restart the device and access the BIOS/UEFI.
- Head to the Boot Order part via the arrow keys once you are in the boot section.
- Scroll using the arrow keys and move to the SSD/HDD component.
- Select the same and press F10 to save and exit.
Once this is done, you can go ahead and install OS on your new PC.
2. Install the Operating System
You must first prepare a secondary installation media by putting the OS inside a DVD or a USB drive. Once done,
- Head over to the BIOS/UEFI section
- Select installation media as the primary boot device
- Apply and Save changes
- Restart for the installation media to start
Follow the installation steps and choose the preferred language. The next step would prompt you to choose the storage drive. Select the one that you recently installed. Choose “Clean Install” for the installation type to do everything from scratch.
The next step involves configuring the installation by pairing the product key and changing configuration settings. Now, you need to wait for the OS installation to complete.
Once done, head over to create relevant user accounts. Restart the PC once to see if everything is working as desired.
Note: If you are not using a new SSD or HDD, you might need to head over to “Disk Management” once the OS is installed, choose the new drive, and click format to make clean it up, once and for all.
3. Verify Installation
Once the OS is installed, you need first to check if the HDD or SSD is recognized by the device or not. Here are the steps for the same:
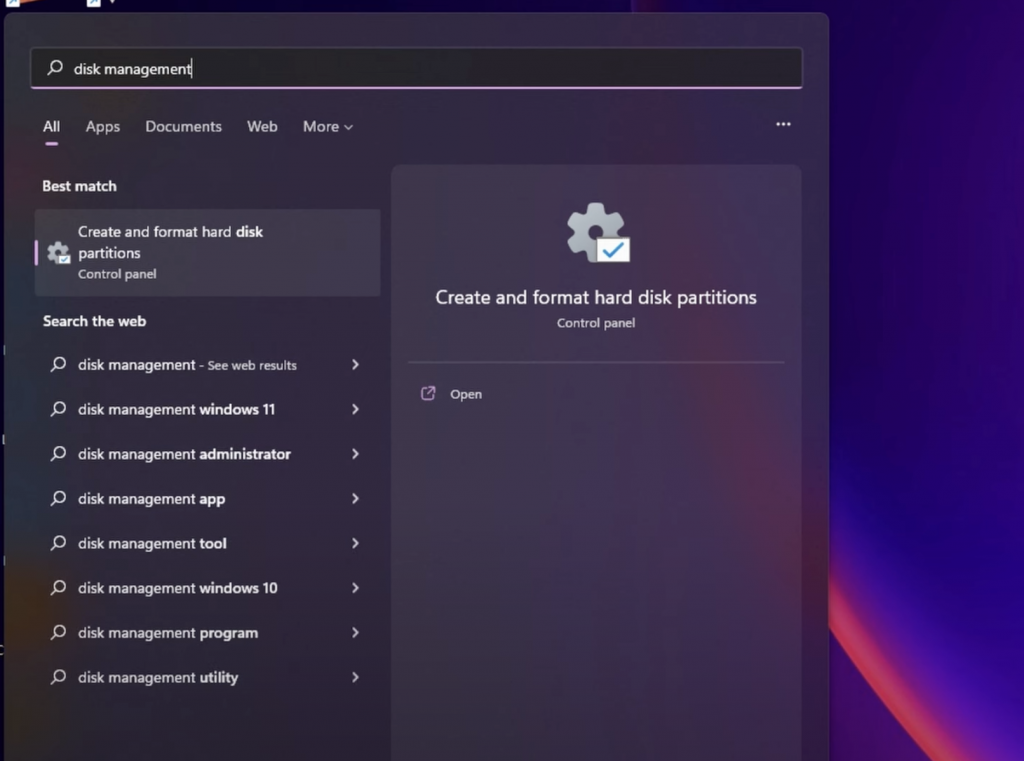
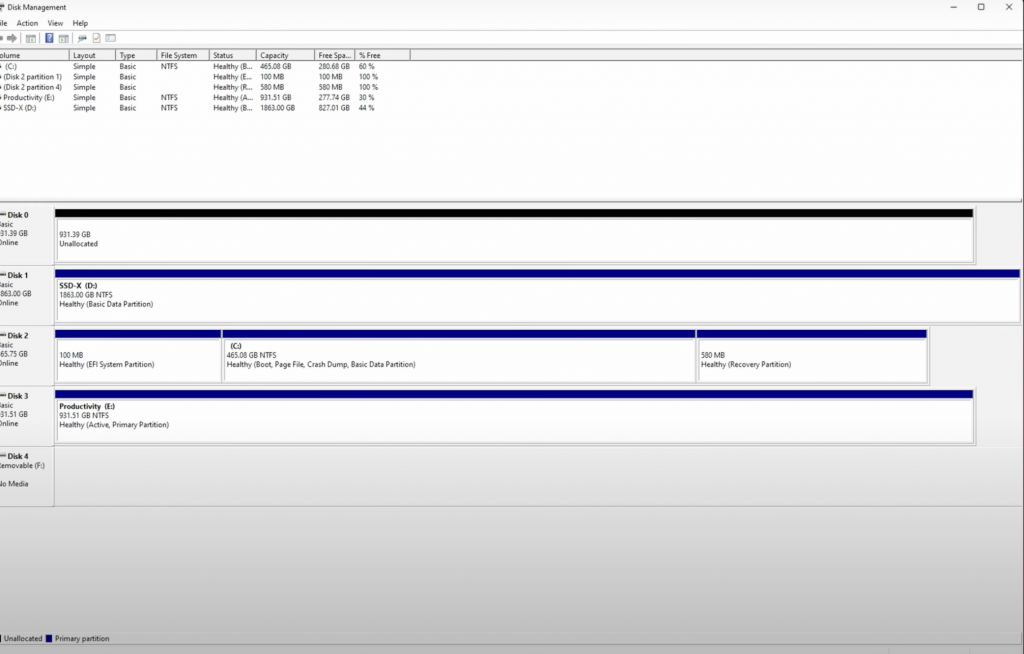
- Head over to disk management.
- See if the new drive is showing up or not.
- If there are no partitions, you can create one
If the new drive isn’t identified, head over to the case, check the connections, and revisit the BIOS/UEFI.
Once done, you need to cross-reference the read/write speed of the HDD and SSD by installing and viewing it on software modules like the CrystalDiskMark. This step helps you validate the working condition of the storage drive.
The final step is to verify the installed OS. For this, you need to head over to “System” and check for “Storage.” You will be able to locate the drive with your OS. If you have mistakenly installed the OS somewhere else, it is possible to clone the same onto the new drive.
And that sums up our post-installation approach.
Frequently Asked Questions
You can connect the internal hard drive to the motherboard using the SATA data cable. Remember that this only establishes a connection between the HDD and the motherboard. For PSU connections, a SATA power cable is needed. You can pick a 7-pin SATA connector for most HDDs.
You can connect it to the front or bottom drive bays corresponding to the PC case. Regardless of the location, you should focus on keeping the ventilation and cable management top-notch.
You must first locate the SATA slot, connect the SATA cable to the motherboard, plug in the other end of the cable to the hard drive, plug the hard drive with the power cable, and then mount the hard drive on the bay. Note that the hard drive doesn’t actually go into the motherboard, but the data cables do.
No, you shouldn’t plug in the SATA drive when the computer is turned on. Doing so exposes the component and the motherboard to damage. This process is called hot-swapping and is not even remotely recommended.
Yes, adding external storage to the PC is possible and recommended. You can use external HDDs, external SSDs, and NAS modules to do the job. Some of the more popular picks include Samsung T5 Portable SSD, Seagate Expansion Portable HDD, and more.
Conclusion
Once you install the storage drive on a PC, you organically enhance its storage capacity and performance. I hope you have successfully installed the hard drive on your newly built PC. Now, you can keep exploring the storage module (s) better by installing new apps and resources and even partitioning the same at will.
Leave a Reply