

Are you done with the PSU selection and are now looking to install it on your PC? Installing a power supply is a relatively easy process, and this guide shall walk you through proper installation & testing.
To begin with, the placement of the PSU is right next to the motherboard. With screws in one hand and a screwdriver in the other, hooking up a power supply is a matter of minutes.
But there are a few things you must ponder upon before the installation. So, let’s get it done, step by step.
Contents
Pre-Requisites of PSU Installation
Here is a list of things you need to install a PSU:
- Power Supply Unit (PSU) compatible with your PC
- Motherboard
- Screwdriver
- Extra screws in case you lose them
- The exact placement of the unit on the case
- Anti-static wrist band
- Grounding by touching a metal surface
- Data Backup (in case of a replacement/upgrade)
FYI, with ever-evolving usage and frequent upgrades, newer PSUs come with extra ports for future upgrades and are often bigger in capacity.
How To Install Power Supply?
First, wear an anti-static wristband and touch a metal surface along with the case to avoid any static discharge. Then follow the steps given below:
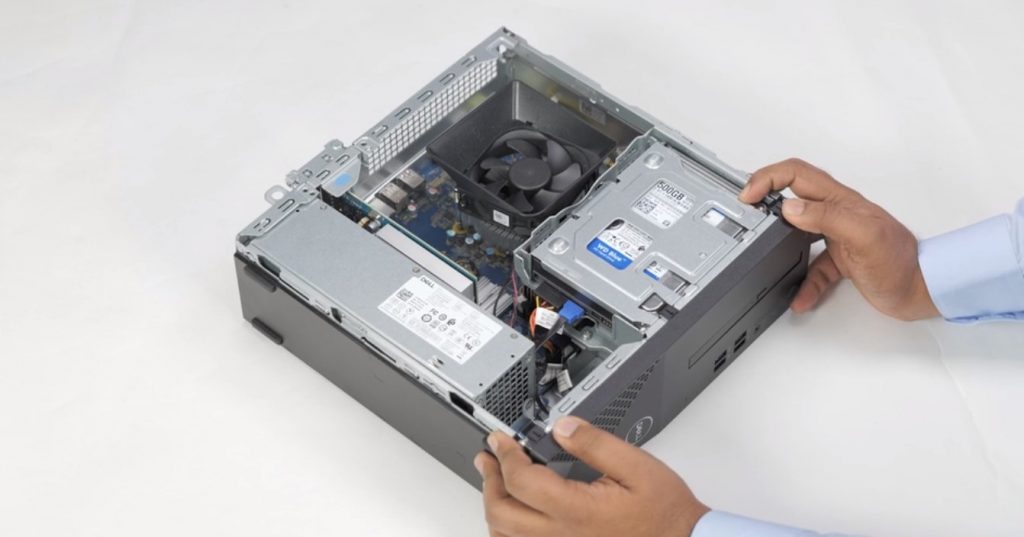
Step 1: Open the Case
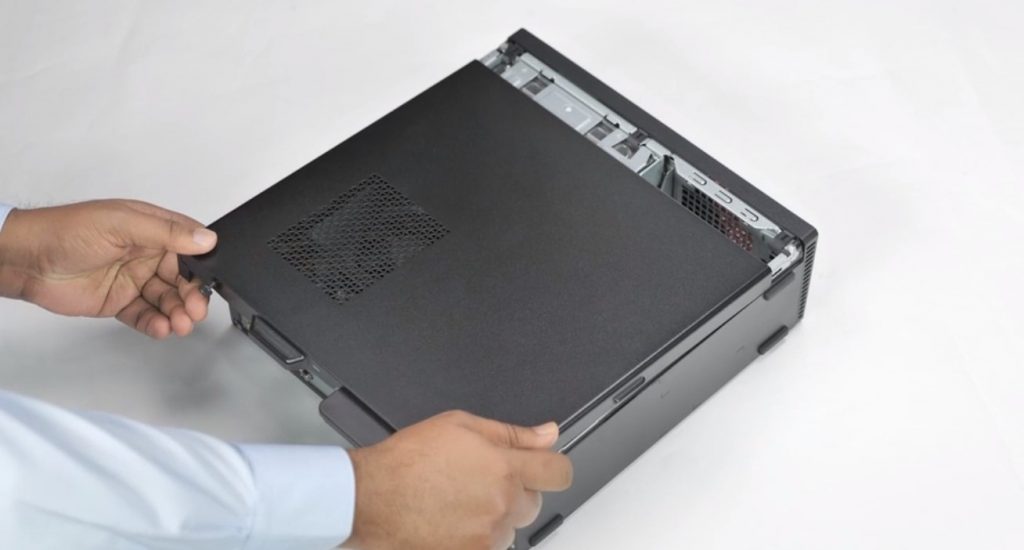
Detach all the cables and connectors. Open the back panel of the case with the help of the screwdriver. The ports and cables are placed on the back panel.
If the back panel is attached to the frame of the case then open the side panels. Be sure of keeping all the screws safely where you can find them later.
Step 2: Align the PSU
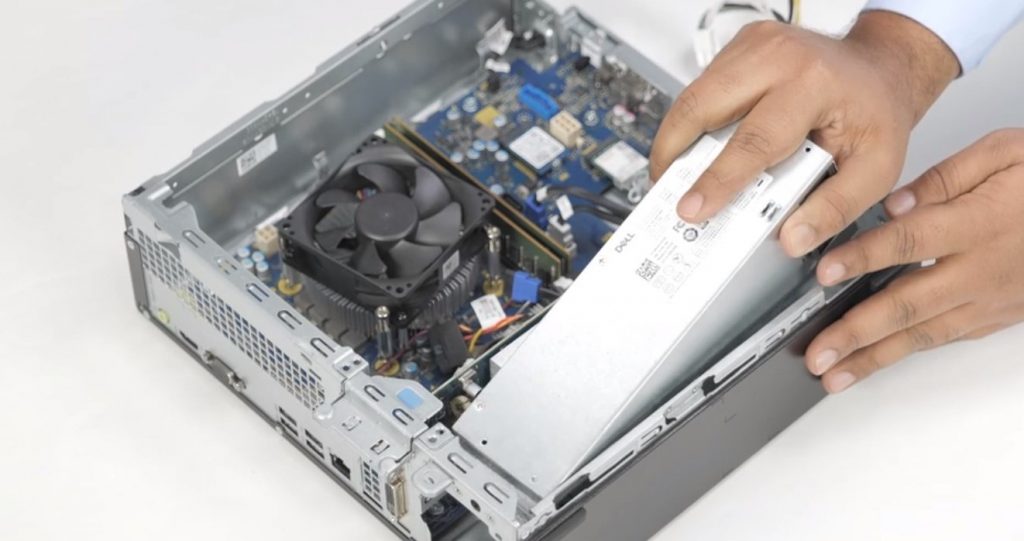
Align the PSU on the frame of the case with its external ports facing the backend of the case. Find the mounting lugs in the case. Make sure the PSU is mounted based on the guiding signs drawn on the case.
If it’s a custom case, then align the PSU in a way that different connectors can reach it and can be plugged in easily.
Step 3: Set the PSU’s Voltage Switch
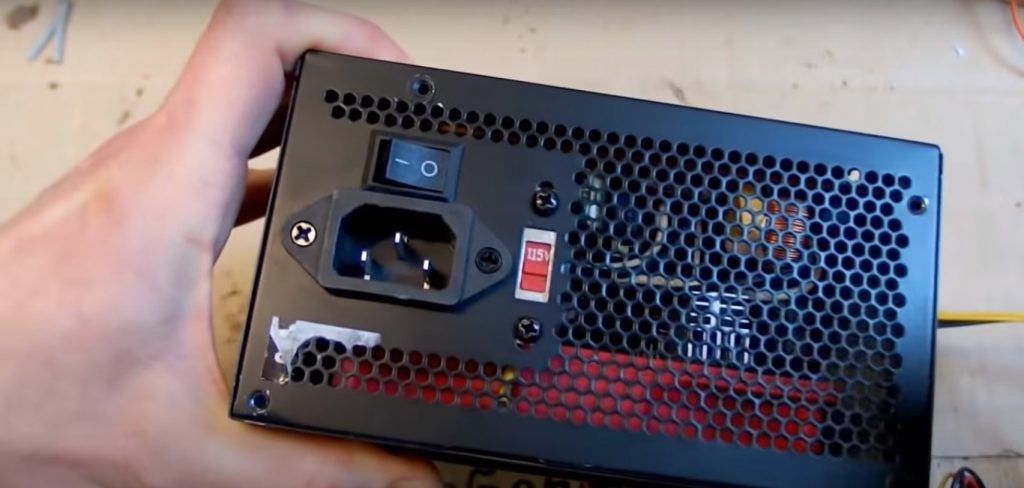
There is a red switch along with the power on and off switch on the back of the PSU. This is a voltage switch. Depending on the voltage standards in your country or region, you must choose between 110/115V and 220/230V.
If you don’t see a voltage switch on your PSU, it basically means your PSU is one of those that can toggle between different power supplies.
Step 4: Plugging in PSU to Motherboard
After mounting the PSU to the case connect your motherboard with the PSU via the 24-pin cable. Older computers use the 20-pin cable. It’s important to recognize cables for each component.
You can confirm the plugging in PSU to the motherboard by merely looking at the form factor of both ends of the cable and the slots on the motherboard as well as on the PSU.
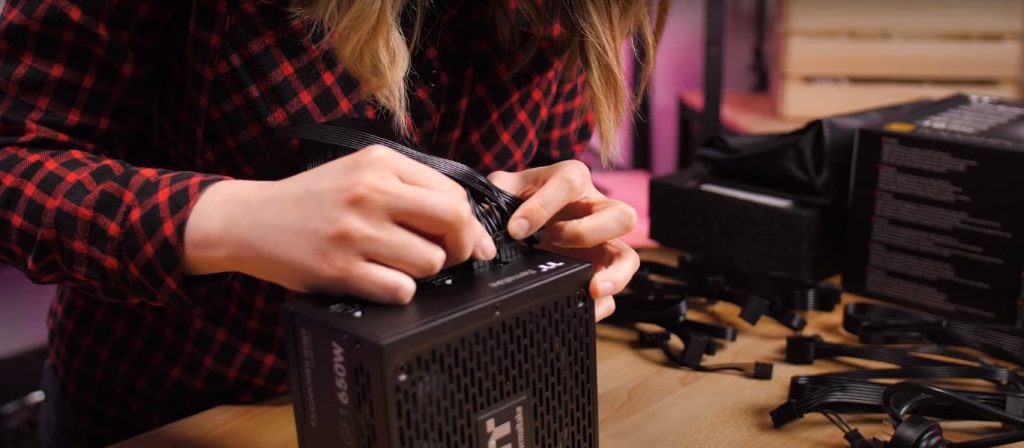
Step 5: Connect the PSU to the Components

Different components are going to have different plugs and ports. Make sure you plug all of them the right way into the PSU. It is always good to note them down before you plug in a power supply.
Club the cables and stick them to the walls of the case to allow proper airflow. You can use cable management pins to club them together.
Step 6: Close the Case
Close the walls of the case. Attach the back panel as well if you had to take that off. Ensure you have clipped all the wires to allow airflow before you peel the screws in.
I suggest keeping at least one side of the case open in case your PC does not boot, and you have to check all the connections again. You can shut the case panels once you’ve successfully booted the PC.
How To Test a PSU?
There are a couple of ways by which you can test your PC power supply. Some of them are as follows:
- Power off the PSU from the main switch
- Unplug all the cables except for the one that goes through the motherboard (24-pin cable)
- Put two ends of a paper clip into pins no. 16 and 17 in the 24-pin socket (To locate these pins, keep the pins facing up and start counting from the top left)
- Switch on the PSU
- If the PSU fan turns on, then your PSU is functioning alright
Another method to test a power supply is through a multi-meter. Check the user manual of your motherboard as well as the PSU to know the right voltage figures.
Note: This guide is applicable to all the PSUs, including:
Frequently Asked Questions
No, it is very easy to install a new PSU, even if you have never done it before. You just need to take care of the cables and practice safety norms. The rest is very easy.
Yes. You don’t need software or drivers to run your PSU. But note that there is a lot of plugging and playing here. Multiple components have multiple ports. Incorrect plugging can lead to the PSU not functioning properly.
You can use the cable extenders if the cables fall short, but you cannot change the motherboard mounting multiple times. For that reason, you should install the motherboard first.
Yes, all essential modern-day parts of the PC are screwed in. This is mainly because the PSU comes with a fan, and there are blowers from the cooler as well. The screwing is to prevent any movements.
Conclusion
I hope, by now, you’re done with the installation of a PSU. Good installation needs accessories like cable pins, extenders, and separators. Proper mounting, configuration, and cabling maximize the performance and prolong the component’s life.
Leave a Reply